How to Set up Smart Tiles for Salesforce?
Smart Tiles is an App developed by our developers. With this application, you can speed up the work of refilling fields when inserting new records in both standard and custom objects in Salesforce.
How does it work?
Directly in the Smart Tiles application, which is part of your menu, you select the object in which you are going to insert a new record. The application will predictively offer you some of the most likely options. It gradually learns and adapts the results according to the current use (their number depends on the setting).
You have this option on your records, but you can use the same logic from organization-wide records. It can be useful if you are dealing with a case that your colleague recently dealt with.
Before setting up Smart Tiles, it’s a good idea to think about which fields you want to have pre-filled. You can also make several different variants for the same object.
Sounds interesting?
Let’s take a look at how to set it all up. Consider this case:
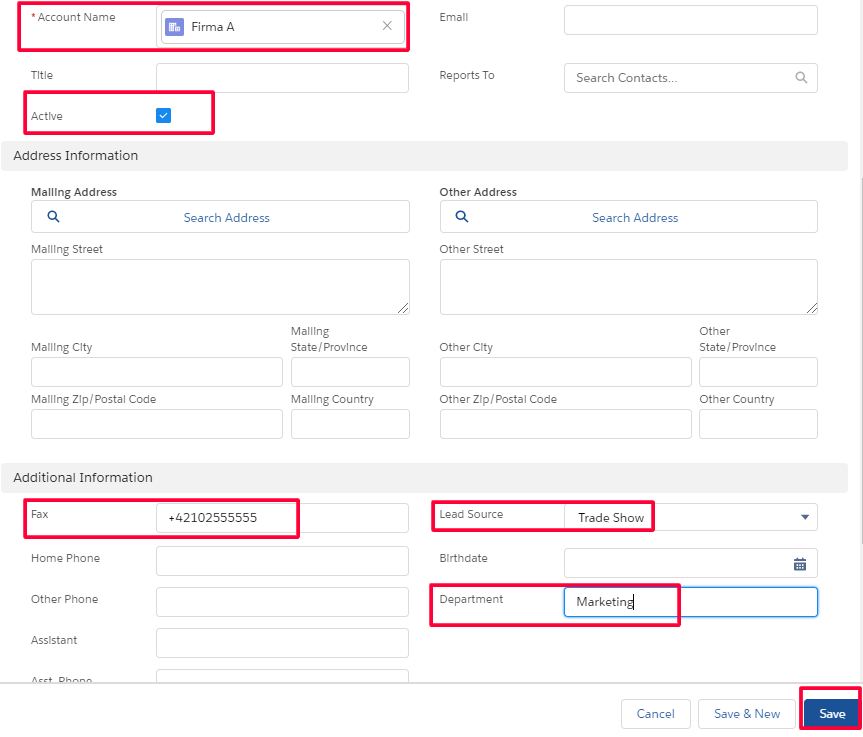
You have a new customer (Account), and you need to create different Contacts from two departments. There will be several fields you need to repeat.
You choose, e.g., Account Name, Active status, Fax and Department.
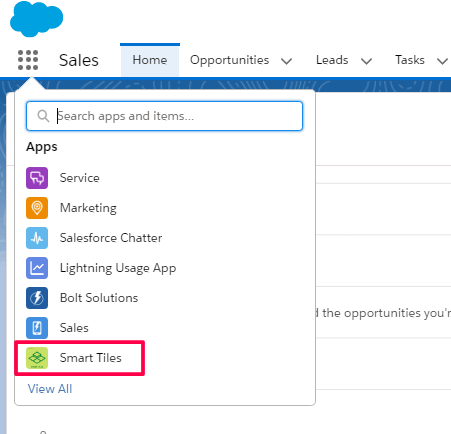
After installing the application from AppExchange, select the Smart Tiles application.

Click on Settings, select the New button to add a new Smart object.
Note: in the free version it is possible to have only two Smart objects active at a time, so before saving the Smart object, it is necessary to uncheck the status Active (marked 6.). Otherwise, the Smart object will not allow you to save the setting.
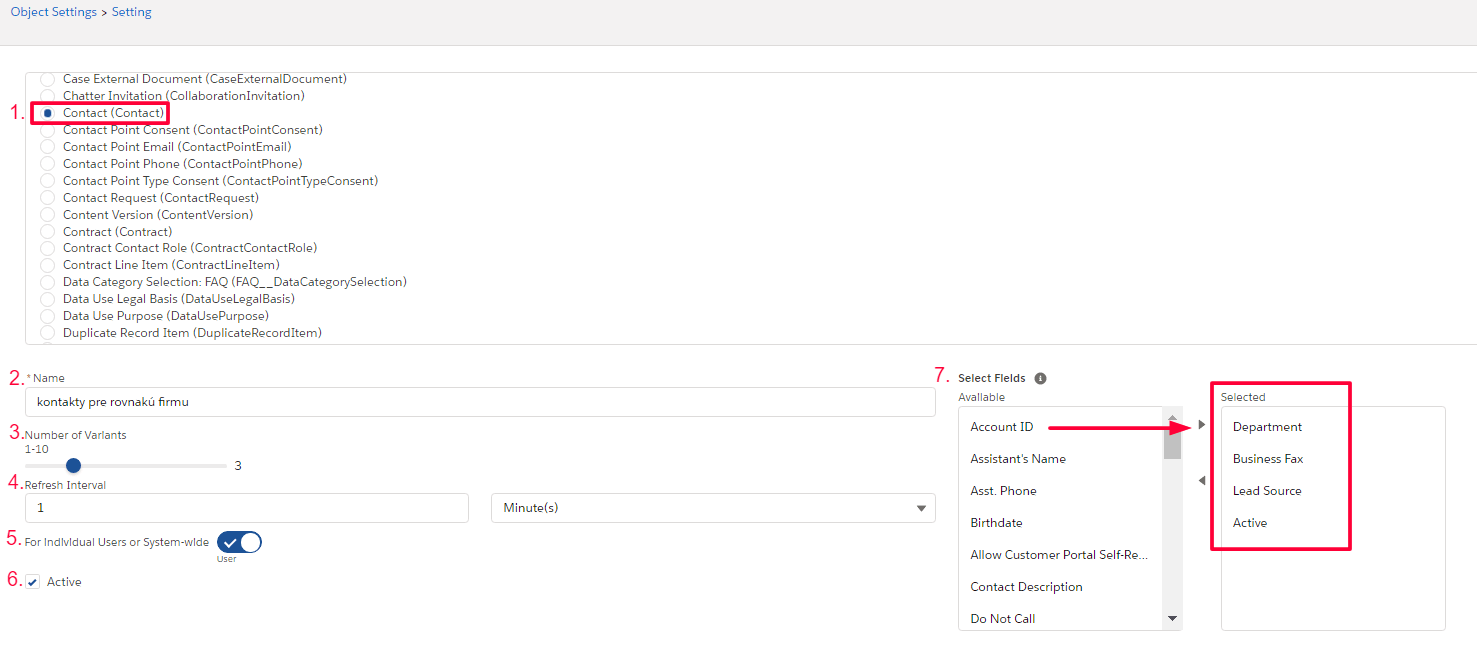
You can individually set the following parameters for each object (picture above):
- Choose the object you want to use – in our case it will be Contact.
- Name of the Smart object Name: Name it so that it is clear for what you are using it.
- Determine how many variants the system will offer you (up to 10).
- Determine the time in minutes after which the system will recalculate the usage model to display the variations.
- With this option, you choose whether this Smart object will be visible only to you, or it will be available to the entire organization.
- By checking the Active option, you can start using the Smart object (pay attention to the total number of active objects – you can change this option at any time via object editing).
- The last thing to do is to select object fields that will be repeated during inserting. The system offers both standard and custom fields. In this case, it will be these fields that usually remain the same for one company. You can also add a Department field, even if you are tossing two departments, because after you save the records with the 1st department, you only change this field, and again, you can use automation for other contacts.
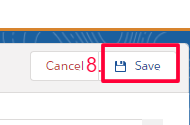
- Remember to save the settings at the top right of the window.
You can change the settings via the Edit function, delete via Delete, or change the order via Change order.

What does this use look like in practice?
You enter a new contact. Fill in the required data for the creation.
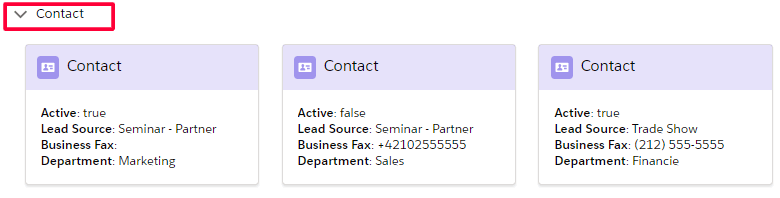
When you return to Smart Tiles, you can see that the system created the first Smart Tile. Since you have set three variations, the other two tiles are still empty.
When you save a new record, you can see that the selected fields have been pre-filled.
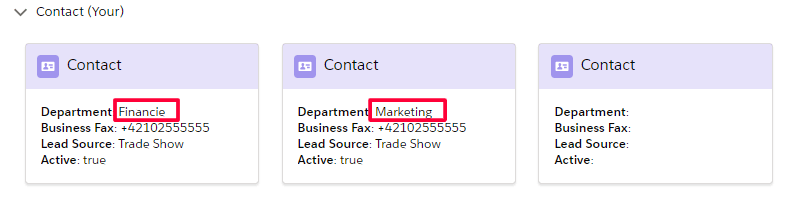
Now you want to save the Contact from another department, you will use the same procedure as for the first record, but you will manually change the department, in this case, to Marketing.
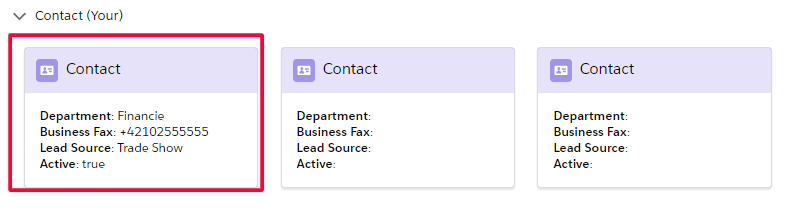
You can see that the system has created a new tile with a different department.
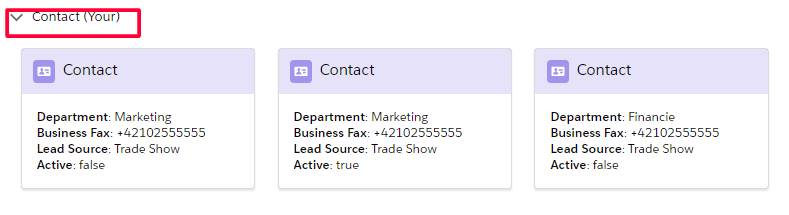
If the Smart object is also set and activated for the entire company, the options of the whole company will be displayed (distinguished by the pronoun Your).
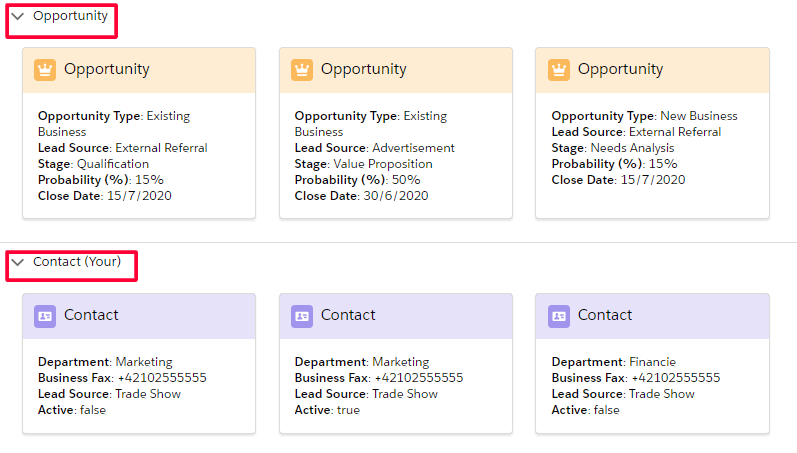
Or other objects:
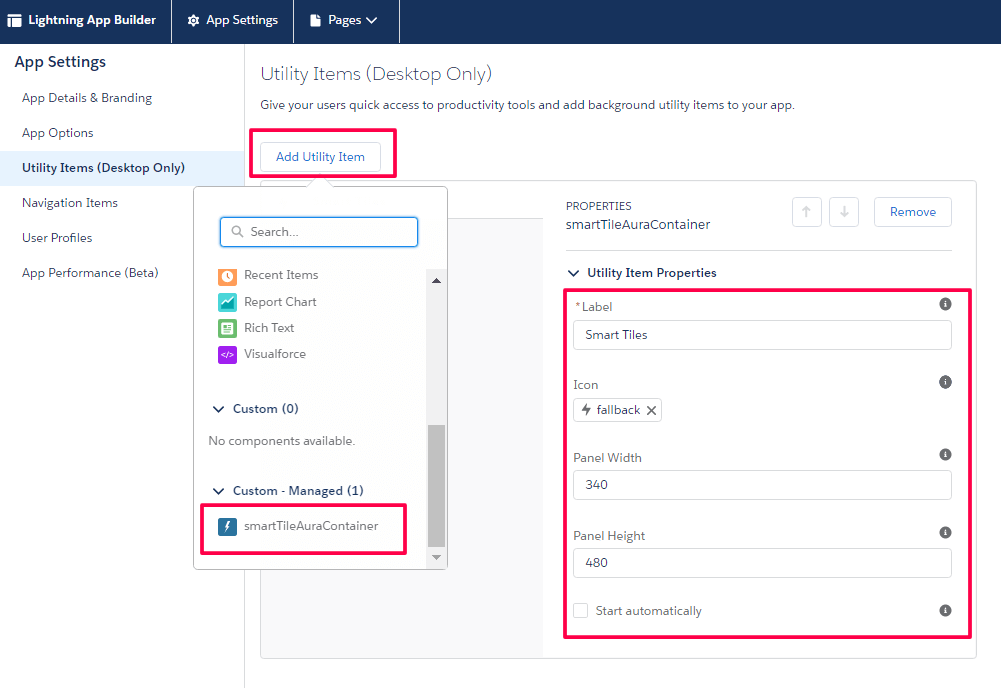
For easier access, you can put the App among the Utility Items via Setup / App Manager / (the type of App, e.g. Sales) the Edit option. The Lightning App Builder will open and select the Utility Item and change the parameters if you want.
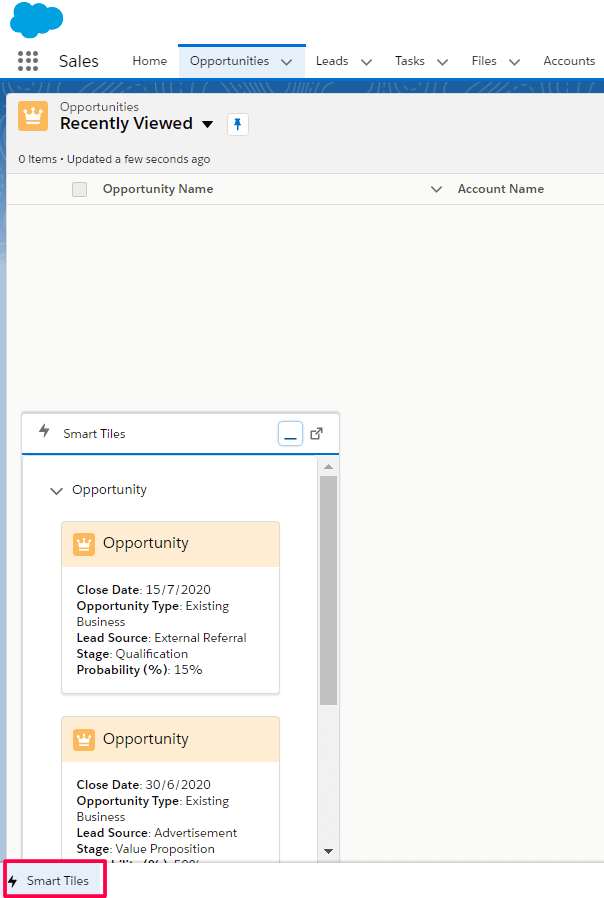
To use it, you need to click on Utilities in the bottom bar directly in the used Object.
Here you can also watch a nice video about this Smart Tiles App or read the introductory blog to learn more about benefits and features.
I assume I do not have to give you many examples of use. If I have managed to explain the benefits of this application concisely enough, you already have an exact idea in your head where it would specifically simplify your work 😊