Why and How to Publish Salesforce Applications (4 Basic Steps)
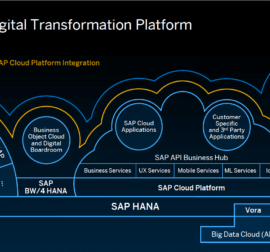
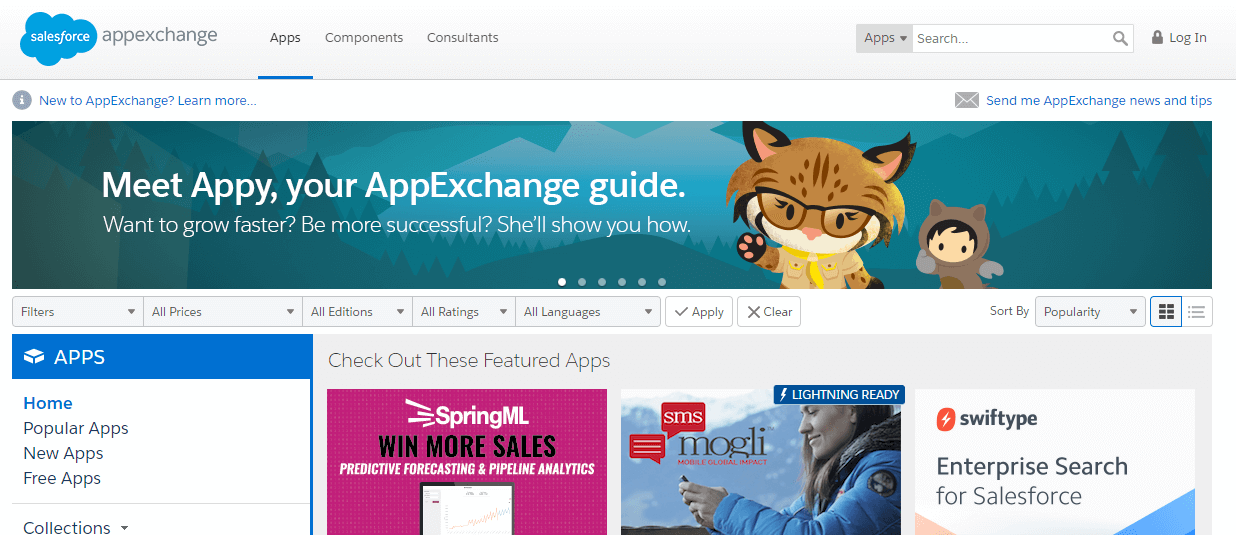
AppExchange is an online market for apps, components, and consulting services. With simple installation directly from your web browser, you can expand Salesforce CRM by applications, currently accounting for more than 3000 of them. From our point of view, Salesforce lacks functionality that would allow simple data import from external systems such as SAP using web services.
There is currently no solution that would not require custom development on the platform. That is why we have decided to develop a solution that makes it possible to connect to external web services even without programming skills and offer it in the form of an app via AppExchange – Webservicer.
The application development process from idea to publication
Anyone can begin to develop on the Salesforce platform at any time thanks to Salesforce’s free developer edition. If you have the ambition to publish on AppExchange, there are few steps to follow:
First, you need to register with the Salesforce Partner Program, which also provides benefits in the form of access to the Partner Community and the Environment Hub, which enables the creation of developer and testing organizations. Developing apps for AppExchange should be done in the so-called Partner Developer Edition created from the Environment Hub, which has wider limits than the regular Developer Edition. It is also a good idea to apply for a Partner Business Organization (case in the Partner Community) that will be used and has pre-installed applications for sales management and application distribution.
The next stage is (not surprisingly) the development itself. Already during the design and development of the application, you can avoid later complications that may delay its releasing if data security is continuously considered throughout the entire process.
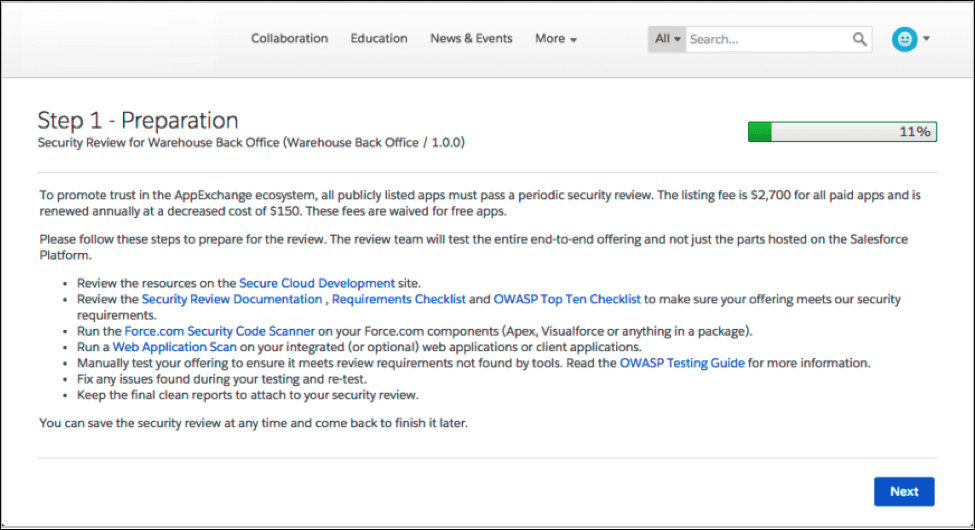
Every app must go through the so-called “Security review.” Value No.1 of Salesforce is the customer trust, and such trust requires the provision of often sensitive data in a cloud environment. The platform guarantees a certain level of security. Still, it is up to developers to design their applications in a way that does not open the way to unauthorized access and manipulation of data. These errors are the subject of an assessment. The security review, therefore, provides a guarantee to customers that the high standard of their data security is preserved.
At the end of the application development and testing in all Salesforce target editions (testing organizations are accessible through the Environment Hub), you need to prepare for the release gradually:
- write down an installation and user guide, add an organization in the Community partner portal in the Publishing section containing the managed package with the application,
- create a new app listing, and from March 2017, also get confirmation that the app is the so-called Lightning Ready (one of the conditions for starting a security review!). The only prerequisite for this is to do the app 100% work in all user cases in the new Lightning Experience user environment. After verification and possible editing of the application, it is enough to submit a claim (the exact wording is available in the Salesforce documentation) with an AppExchange listing link where you need to have uploaded screenshots of the app as shown in Lightning Experience. The Lightning Ready label is awarded weekly, which is essential to follow, as it may unexpectedly delay the starting of the security review.
another security review commencement condition is the creation of a final version of the managed package(not a beta version) of the application. It checks it using the Force.com Security Source Scanner. This tool scans the source code and searches for security gaps. All problems found must be repaired and use the scanner again so that the result was a bug-free report (beware, max. Three scans for security review.
It should be remembered that this tool is not 100% and that it does not identify any security problems does not mean that there are no false negatives in the code. Likewise, it may happen that it marks the problematic part of the system, which is correct (false positives). The output of the security scanner is the document that needs to be attached to the security review, and if some errors are considered by the developer to be false positives, the “False Positives Document” (bugs description document, the relevant part of the code, and the explanation of how the security is treated) must be prepared and attached.
If the developer is no longer aware of other security bugs, it is time to send a package for the security review through the Partner Community portal. In addition to the above documents, you need to configure and make available an organization with a test application installed to the test team. In our case, we have also included the User Guide, in the spirit of the recommendation that if in doubt, delivering extra documents is better rather than if the testing team is missing them.
The security review is a manual process that, according to official documentation, can take from 6 to 8 weeks, which is the ideal time to finalize AppExchange listing – adding text, graphics, videos. But it is better to have them ready sooner; for example, it took one week for our app to pass the review. If the test team encounters any security issues, it is necessary to remove them and repeat the process.
When the app is approved and the listing is complete, publish it, and the app is virtually instantly accessible on AppExchange.
The first application we have completed this process with is Webservicer.
With its help, it is possible to integrate Salesforce.com with any other external system or application using SOAP web services – without programming knowledge and without using middleware. Upload a WSDL file, map the inputs and outputs of the web services to a Salesforce object, and the app is ready to make calls to update the records of that object. Data is updated upon request by pressing the button for each record only when you need it.
Petra Gottlieberova, App Developer